...or how good it feels to complete a long-time UFO. Damn good!
I started this project, a nice, cool summer top, so many years ago that I don't remember when. Judging from intervening house moves it was at least three years ago, but could be longer.
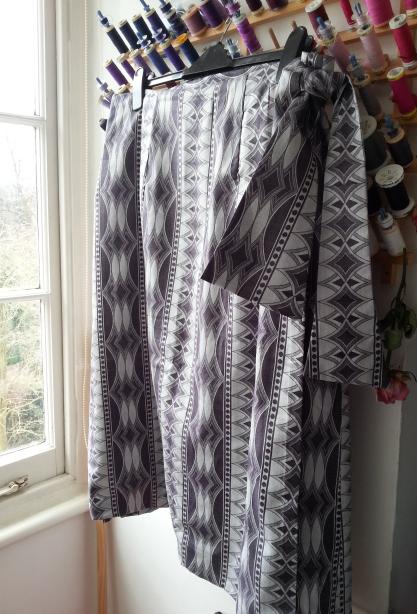
It is finished!!! Ta-da!
I am so pleased. The feeling of satisfaction at completing something that was cluttering up my space: it is a priceless, unbeatable feeling. To no longer come across it and having to think: "Oh yeah, I need to finish that at some point, soon, whenver...". Such a relief!
I do have waaaaaaaaaaaaaaayyyy too many unfinished projects hanging around like a bad smell. Triggering uncomfortable, opppressive vibes.
I want to no longer contribute to even more of them. It has to stop: either complete it, throw it out or do something (whatever it is) with it. Give to friends, to a charity shop, rip it back down if it's knitted, throw it in a clothes collection bin for making blankets out of or whatever they do...
I don't intend on exposing myself to the disheartening pressure of wanting to go through everything I have lying around and get this fixed right this minute, if not yesterday - I will take my time over it. I am able to do this on a gradual basis, I don't have to stress myself out. I will look at a few projects at a time, both knitting and sewing or quilting projects, and decide on which one 'grabs' me the most. I like using spontaneous urges that have me pick up one specific thing - it usually means that I successfully deal with it.
As I mentioned, my sewing group is having a two-part sewalong on looking over UFOs, one was in January, the next one
Part 2 is in March. This proved extremely beneficial: I got the urge to look at just this or that UFO, and had started to do a little sewing here and there too.
Then I came across some of my knit UFO projects that are too numerous to mention - this is just the first one I was able to do something with. I had absolutely no idea how I was going to deal with a gaping big neckline, the thought of knit ribbing was a bit offputting.
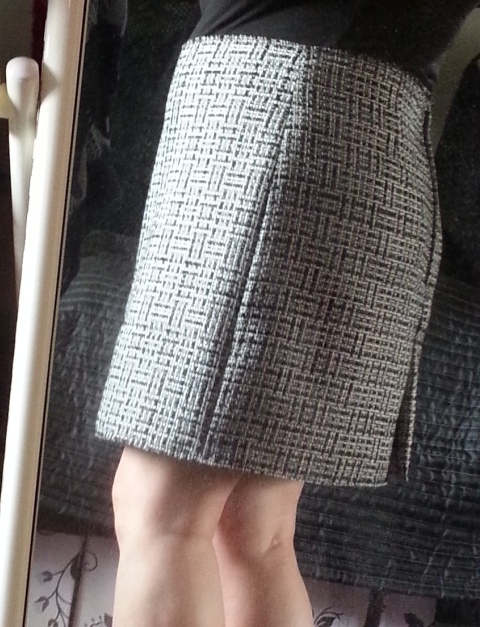
Seeing how pretty this crochet border looks, I am extremely glad that I looked for something else. I do save a lot of photos I find inspiring. One of them was of a page in a Japanese book, an edging there inspired the top half of my border. I improvised the other part at the bottom:
I put down a foundation row of double crochet stitches.
I was able to go 'around' the corners by not crocheting into every stitch. The top part of the pattern then also missed out a stitch here and there to make it lie flat.
Same at the back. You can also see that my "seam line" between sleeve and body looks a little odd. I used the seamless method* by decreasing at this point in every second row. The kink in the line comes from switching from decreasing in the body area to decreasing at the sleevehead.
This method is probably a bit better for fibres that are smoother and will pull into place a bit better than this cotton yarn.
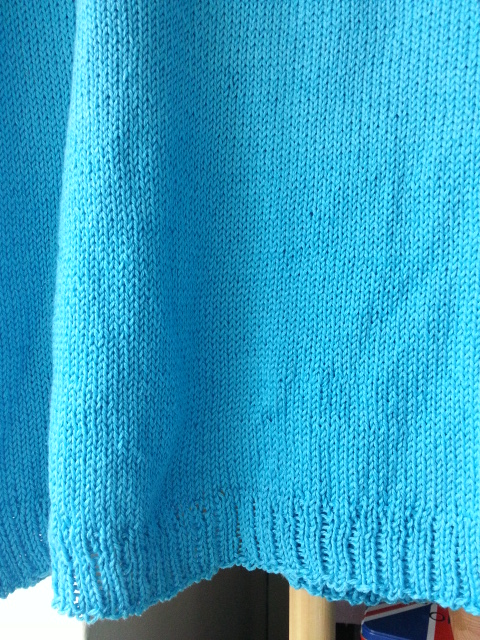
I made the ribbing in a K2 P1 pattern.
This photo shows the problem of the neckline very well: not only is it too big, the fabric also rolls in as well as out in several places. This would have never looked good or felt comfortable if left like this - I was really unsure what to do with it for a long time.
I can also see now that I could have decreased between sleeve and body a little more further down. You live and you learn!
Overall I am content but not ecstatic with how the top looks on me. I am utterly delighted in an over-the-moon way that I finished it!
Yay me.
Now where is that other WIP where I need to do my magic with the squashed sleeveheads? Lemme at it!
PS: The seamless sweater method* has been explained by Elizabeth Zimmermann in at least one of her books, and also by Tuulia who developed a pattern that you can buy.


